Master the 2-3 Zone Defense: A Beginner’s Guide to Dominating the Court
Share
The 2-3 zone is definitely everyone’s first introducing into zone defense. It’s definitely one of the easiest zone defenses to teach. In youth basketball, it can be especially frustrating for opponents because it packs defenders around the basket forcing the offense to have to score from farther away - which is often much harder the younger the players are.
The 2-3 zone defense is designed to protect the paint and challenge opponents to knock down outside shots. This defense positions two guards at the top and three players along the baseline, creating a barrier against interior scoring.


Advantages of the 2-3 Zone Defense
- Paint Protection: By positioning defenders near the basket, the 2-3 zone makes it difficult for opponents to score inside. The center remains in the paint, providing constant protection in the paint.
- Forces Outside Shots: This setup forces opponents to rely on perimeter shooting, which can be advantageous if the opposing team lacks strong shooters.
- Tempo Control: The 2-3 zone can dictate the game's pace, allowing your team to slow down high-tempo offenses and control the flow of the game.
Weaknesses of the 2-3 Zone Defense
- Vulnerability to Perimeter Shooting: Teams with knock down shooters can exploit the gaps in the zone, making three-point defense crucial.
- Rebounding Challenges: Since defenders guard areas instead of specific players, boxing out for rebounds can be more challenging, potentially leading to more offensive rebounds for opponents. Teach your players to locate a body on a shot attempt and NOT watch the flight of the ball.
- Susceptibility to Offensive Overloads: Opponents can exploit the zone by overloading one side of the court or placing players in the high post, creating defensive mismatches. If you want to learn this particular strategy, check out my video “Set Play vs. 2-3 Zone (live video)”
Implementing the 2-3 Zone Defense
Player Positioning:
- Guards (1 and 2): Positioned at the top, responsible for pressuring the ball and covering the perimeter.

- Forwards (3 and 4): Located near the blocks, tasked with guarding the corners and wings.

- Center (5): Anchors the middle, protecting the rim and contesting shots in the paint.

Movement and Communication:
- All players must move in together, shifting towards the ball to maintain the zone defensive integrity.


- Constant communication is essential to identify screens, cutters, and potential mismatches.
Active Hands and Anticipation:
- Defenders should keep their hands active to disrupt passing lanes and contest shots.
- Anticipating offensive movements can lead to deflections and turnovers.
Adjustments and Variations
- Aggressive Trapping: Teams can implement traps in the corners or on the wings to force turnovers and disrupt offensive rhythm.


- Matchup Zone Principles: Incorporating man-to-man elements within the zone can address specific offensive threats, providing flexibility against various offensive strategies. This is a more advanced concept for teams already familiar with both zone and man-to-man defense.
Conclusion and Additional Resources
The 2-3 zone defense is a must-have tool for coaches looking to introduce a zone defense, protect around the paint, control the tempo, and force opponents into tough outside shots. Its success depends on your players’ discipline, communication, and ability to shift together as a unit. When executed properly, the 2-3 zone can frustrate opponents, disrupt their offensive flow, and give your team the upper hand. With consistent practice and the right adjustments, this defense can be a game-changer for your team.
If you’re ready to dive deeper into the 2-3 zone, check out my two YouTube videos on the 2-3 Zone Defense:
"How to Run a 2-3 Zone Defense (Part 1)"
"How to Run a 2-3 Zone Defense (Part 2)"
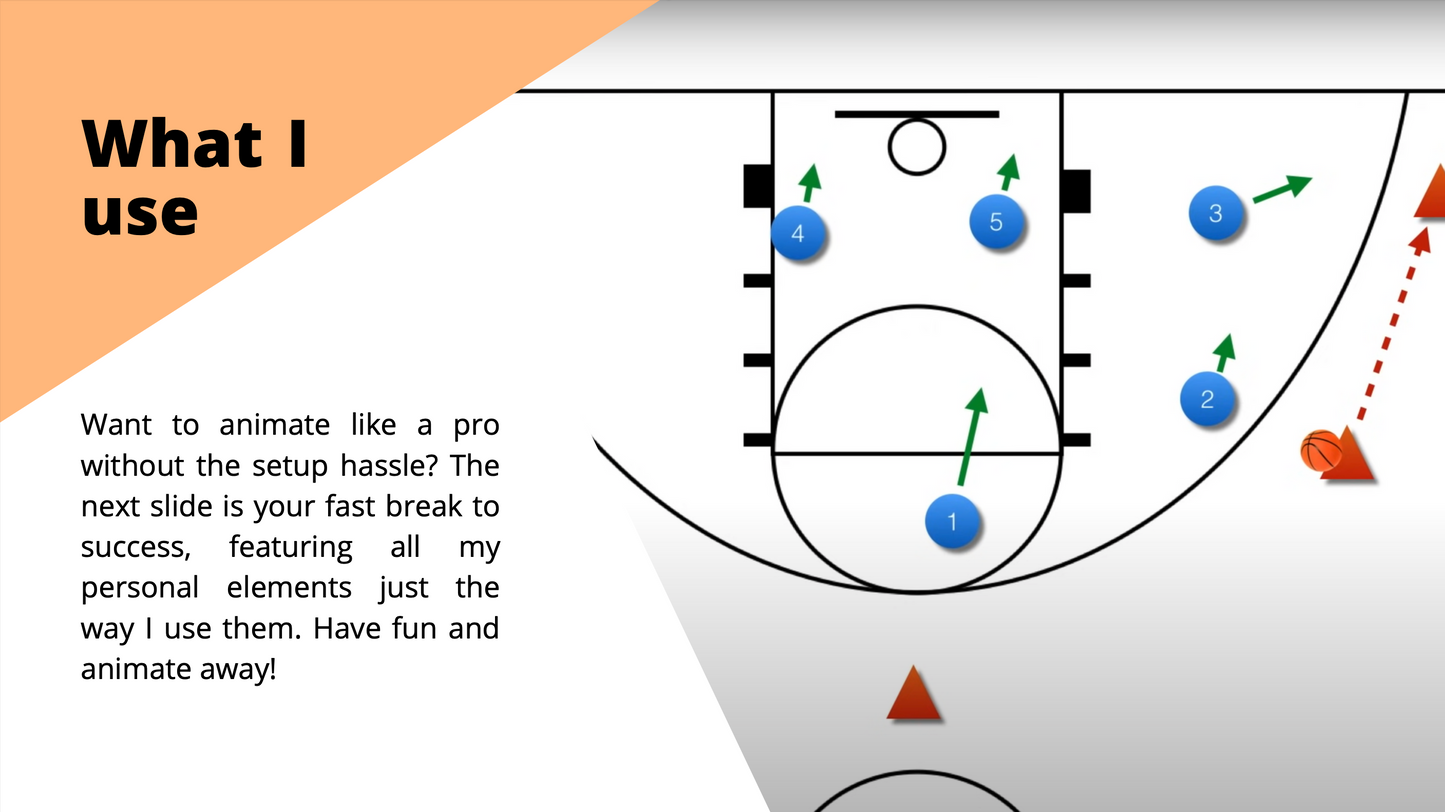
Both videos offer detailed animations and strategies to help you implement this defense like a pro. And if you want to create your own basketball play animations, my Animation Tool Kit is a perfect place to start. Looking to level up even further? My DIY course will teach you how to animate plays and bring your coaching strategies to life. Elevate your team’s defense today!


